7 Beginner-Friendly Strength Exercises You Can Do at Home
You don’t need a gym membership or expensive equipment to start building strength. With a little space, a sturdy chair, and a routine you can repeat consistently, you can begin improving your strength and making everyday movements feel easier.
If you’re new to exercise, start with simple movements, focus on good form, and give yourself time to progress. These seven beginner-friendly strength exercises are a practical place to start.
Why Strength Training Matters for Beginners
Strength training helps you develop the muscles you use for everyday activities, from carrying groceries to getting up from a chair. It can also support bone health, balance, and your ability to stay active as you age.
You don’t have to lift heavy weights or exercise every day to get started. Bodyweight exercises can provide a useful introduction to resistance training, especially when you perform them with controlled movements and gradually increase the challenge.
1. Chair Squats
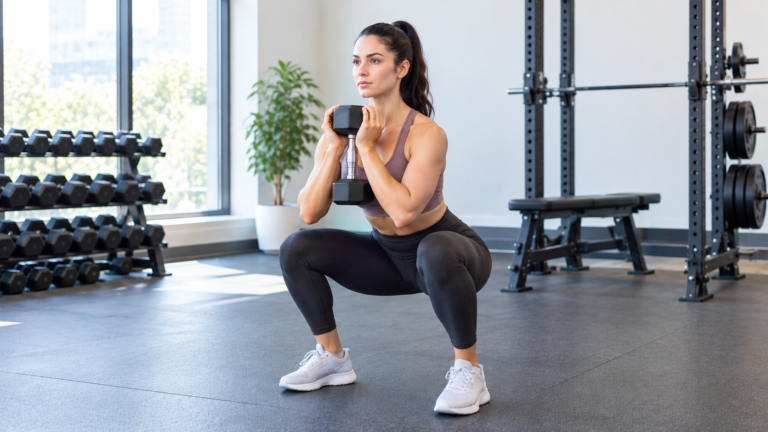
Chair squats help beginners practice sitting down and standing up while strengthening the muscles in the thighs, hips, and buttocks.
How to do them:
- Stand in front of a sturdy chair with your feet about shoulder-width apart.
- Push your hips backward and bend your knees as if you’re about to sit.
- Lower yourself slowly until you lightly touch the chair.
- Press through your feet to stand back up.
Beginner target: 5–10 repetitions.
Keep your feet flat on the floor and move only as far as feels comfortable. Use the chair for support if you need extra balance.
2. Wall Push-Ups
Wall push-ups train your chest, shoulders, and triceps without requiring you to get down on the floor.
How to do them:
- Stand facing a wall and place your palms against it at about shoulder height.
- Step back slightly while keeping your body straight.
- Bend your elbows and bring your chest toward the wall.
- Push gently through your hands to return to the starting position.
Beginner target: 5–10 repetitions.
Keep your body aligned instead of bending at the waist. As you become stronger, you can make the exercise more challenging by using a stable countertop.
3. Glute Bridges
Glute bridges strengthen the buttocks and help you practice controlled hip movement. They are performed on the floor, so skip this option if getting down or back up is uncomfortable.
How to do them:
- Lie on your back with your knees bent and feet flat on the floor.
- Rest your arms by your sides.
- Tighten your abdominal muscles gently and press through your feet.
- Lift your hips until your shoulders, hips, and knees form a comfortable line.
- Lower your hips slowly.
Beginner target: 8–12 repetitions.
Avoid arching your lower back to lift higher. A small, controlled lift is enough to begin.
4. Standing Calf Raises
Calf raises strengthen the muscles at the back of your lower legs, which help you walk, climb stairs, and push off the ground.
How to do them:
- Stand behind a sturdy chair or beside a countertop.
- Place your feet about hip-width apart.
- Slowly raise your heels until you’re standing on the balls of your feet.
- Pause briefly, then lower your heels with control.
Beginner target: 8–12 repetitions.
Use the chair or countertop for balance, not to pull yourself upward. Keep the movement smooth rather than bouncing.
5. Bird Dogs
Bird dogs train your core and challenge your balance while helping you practice coordination between your arms and legs.
How to do them:
- Start on your hands and knees with your hands under your shoulders.
- Keep your back in a comfortable, neutral position.
- Slowly extend one arm and the opposite leg.
- Pause briefly without twisting your torso.
- Return to the starting position and switch sides.
Beginner target: 5 repetitions per side.
If extending both limbs is difficult, begin by lifting only one arm or one leg at a time. Use a padded surface under your knees if needed.
6. Supported Reverse Lunges
Supported reverse lunges work the legs and hips while allowing you to use a stable surface for balance.
How to do them:
- Stand beside a sturdy countertop or another secure support.
- Step one foot backward a short distance.
- Bend both knees only as far as you comfortably can.
- Push through your front foot to return to standing.
- Repeat on the other side.
Beginner target: 5 repetitions per side.
Keep the movement small at first. If lunges cause knee pain, affect your balance, or feel uncomfortable, replace them with chair squats.
7. Standing Marches
Standing marches help you practice balance and strengthen the muscles involved in lifting your legs during walking.
How to do them:
- Stand tall beside a sturdy chair or countertop.
- Shift your weight onto one foot.
- Lift the opposite knee a comfortable distance.
- Lower that foot gently and repeat on the other side.
- Continue alternating sides at a controlled pace.
Beginner target: 10 alternating marches.
Keep your movements slow and avoid leaning backward. Hold the support with one or both hands if necessary.
How to Combine These Exercises Into a Beginner Workout
You can combine the seven movements into a simple full-body routine. Start with one round rather than trying to complete multiple rounds immediately.
| Exercise | Starting amount |
|---|---|
| Chair squats | 5–10 reps |
| Wall push-ups | 5–10 reps |
| Glute bridges | 8–12 reps |
| Standing calf raises | 8–12 reps |
| Bird dogs | 5 per side |
| Supported reverse lunges | 5 per side |
| Standing marches | 10 alternating reps |
Rest for about 30–90 seconds between exercises, or longer if you need it. Your breathing should settle enough that you can continue with control.
For a beginner, two strength-training sessions per week on nonconsecutive days can be a reasonable starting point. Adjust the routine to your current fitness level and recovery needs.
How to Make Progress Without Overdoing It
Your first goal is to learn the movements, not to complete as many repetitions as possible.
Start with a comfortable number of repetitions. When you can finish them with good technique and without excessive strain, gradually add a few repetitions or another round. You can also use a slightly more challenging variation when the current version feels manageable.
Allow recovery time between strength sessions. You may experience mild muscle soreness when beginning a new routine, but sharp pain or worsening joint pain is a reason to stop and reassess the exercise.
Consistency matters more than making every workout difficult.
Common Strength-Training Mistakes Beginners Should Avoid
Doing too much too soon. Starting with too many repetitions or sessions can leave you excessively sore and make the routine harder to maintain.
Rushing through repetitions. Controlled movements make it easier to maintain balance and recognize when your form is slipping.
Ignoring discomfort. Muscle effort can be normal, but sharp pain, dizziness, chest pain, or unusual shortness of breath should not be ignored. Stop exercising and seek appropriate medical help; chest pain or severe symptoms may require emergency care.
Skipping recovery. Your muscles need time to recover between challenging strength sessions.
Comparing your progress with others. Your starting point, mobility, schedule, and recovery needs may differ from someone else’s.
Frequently Asked Questions
Can beginners build strength without weights?
Yes. Bodyweight exercises and movements performed against a wall or with a stable support can help beginners develop strength. As your fitness improves, you may need greater resistance or more challenging variations to continue progressing.
How many days a week should a beginner do strength training?
Two nonconsecutive days per week is a practical starting point for many beginners. You can adjust the frequency based on your experience, recovery, and overall activity level.
How long should a beginner strength workout last?
A short session of around 15–25 minutes may be enough to practice these movements, including rest periods. The appropriate duration depends on your pace, fitness level, and how many exercises you complete.
Should I feel sore after every workout?
No. Soreness is not required for progress. You can improve strength without feeling sore after each session, and severe soreness is not a sign that a workout was necessarily better.
What if I have joint pain or difficulty balancing?
Choose comfortable, supported movements and avoid exercises that worsen your symptoms. If you have a chronic condition, a recent injury, or significant mobility limitations, consult a qualified healthcare professional or physical therapist for appropriate modifications.
Final Thoughts
Starting strength training at home can be simple. Chair squats, wall push-ups, calf raises, and the other exercises in this routine offer a manageable introduction without requiring a gym or specialized equipment.
Begin with one round, focus on controlled technique, and increase the challenge gradually as you become more comfortable. A realistic routine you can maintain is a better starting point than a demanding plan you struggle to follow.
Safety note: This article provides general fitness education, not individualized medical advice. Stop any movement that causes pain or concerning symptoms and seek professional guidance when appropriate.